
How to Read Electricity Meter: A Step-by-Step Aussie Guide
Reading your electricity meter isn’t as complicated as it sounds. The whole process boils down to three things: figuring out what type of meter you have (dial, digital, or smart), reading the numbers correctly, and then subtracting your last reading from the new one. That’s it. This quick check is your first real step towards getting a handle on your energy costs.
Why Bother Reading Your Electricity Meter?
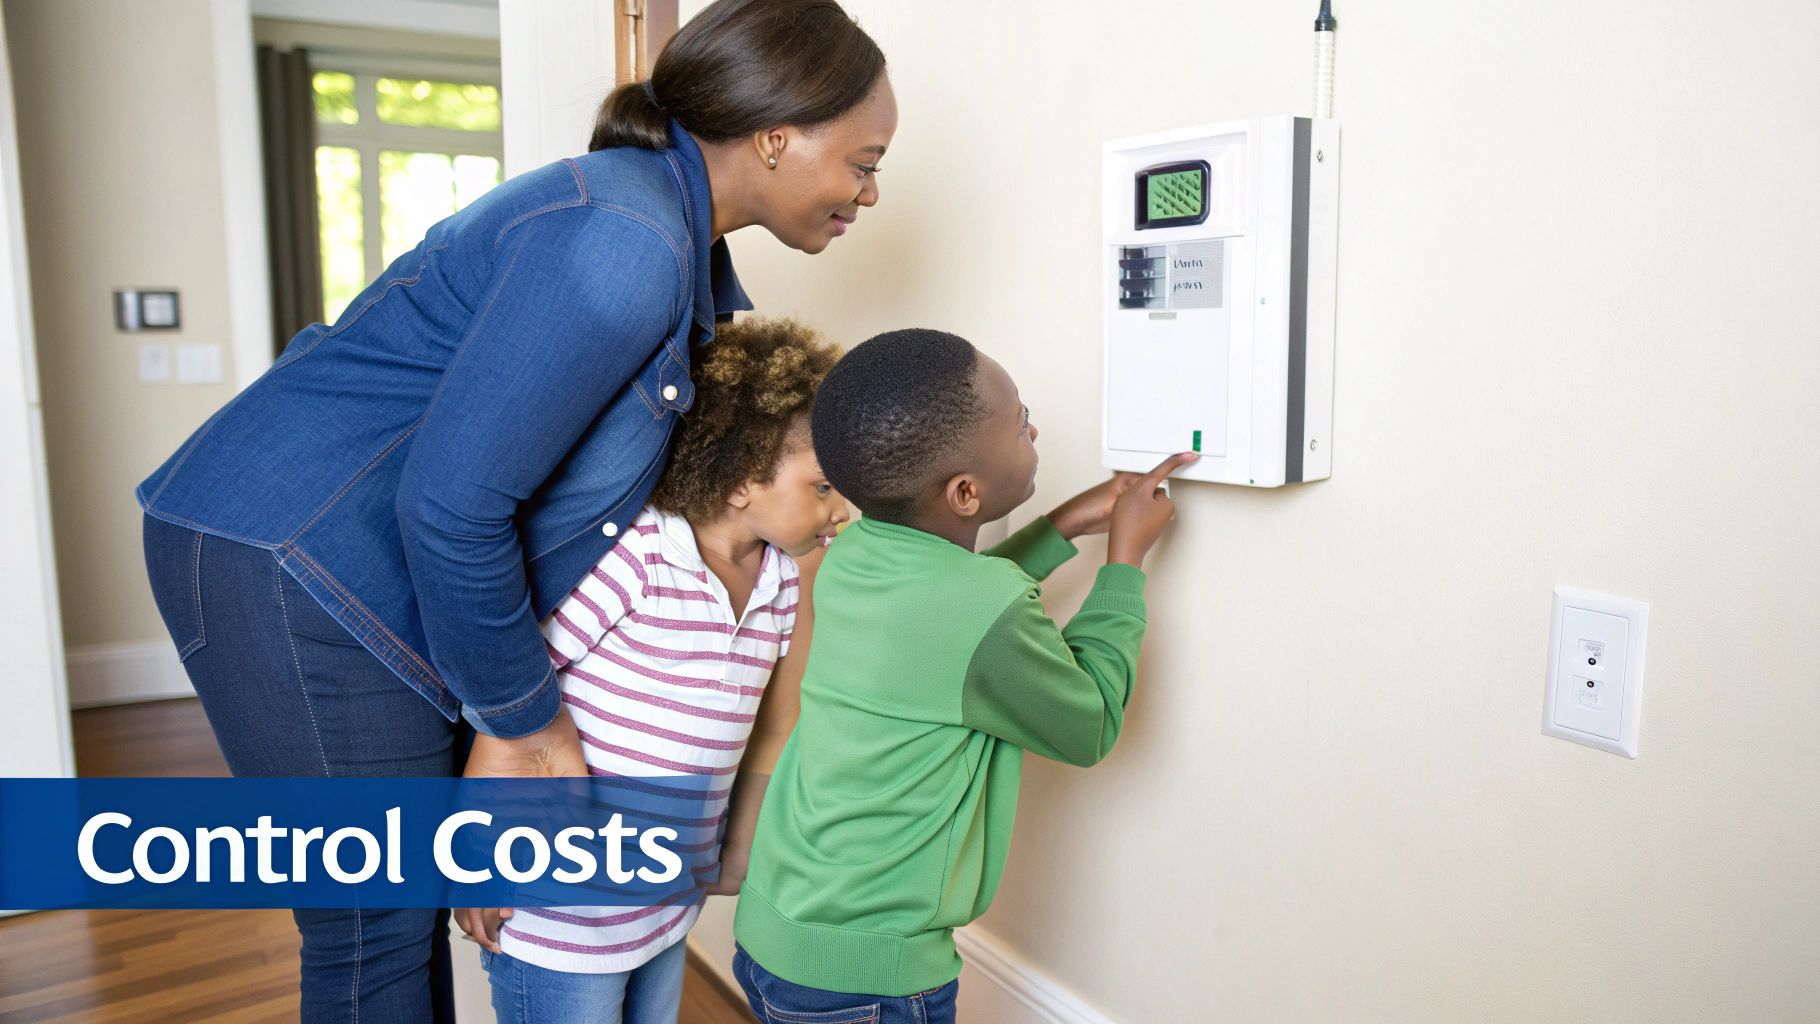
Before we get into the how, it’s worth understanding the why. Honestly, this simple habit is the most direct way to gain control over your power bills. It stops your bill from being a confusing surprise each quarter and turns it into a predictable expense you can actually manage.
When you regularly check your meter, you start connecting what you do in your house with real-time energy use. Suddenly, you’re not just guessing which appliance is chewing through power—you can see the impact.
Link Your Habits to Your Bill
This isn’t just about crunching numbers; it’s about putting you in the driver’s seat. By making meter reading a routine, you unlock a few key advantages:
- Spot the “Energy Vampires”: You can finally identify which appliances are secretly pushing your bill up, even when they’re on standby.
- Understand Your Peak Times: Discover when your household uses the most electricity. If you’re on a time-of-use tariff, this is gold—you can shift activities to cheaper, off-peak times.
- Double-Check Your Bills: It’s your way of making sure your energy retailer’s charges are accurate and based on what you actually used, not just an estimate.
Think about this real-world scenario: a family noticed their power consumption was consistently high, even overnight when everyone was asleep. By checking their meter regularly, they pinpointed the culprit—an old, inefficient freezer humming away in the garage. Replacing it saved them over $200 in the first year alone.
This kind of control is getting easier for everyone. The Australian smart meter market is set to expand rapidly, projected to grow at a compound annual rate of 12.3% between 2025 and 2034. This shift means more households are getting access to detailed data, with around 30% of Australian households already reporting they conserve more energy after gaining these insights.
If you’re curious, you can find out more about the Australia Smart Meters Market Forecast. This simple habit connects directly to real financial and environmental wins, making you the one who decides how your home’s energy future looks.
Identifying Your Type of Electricity Meter
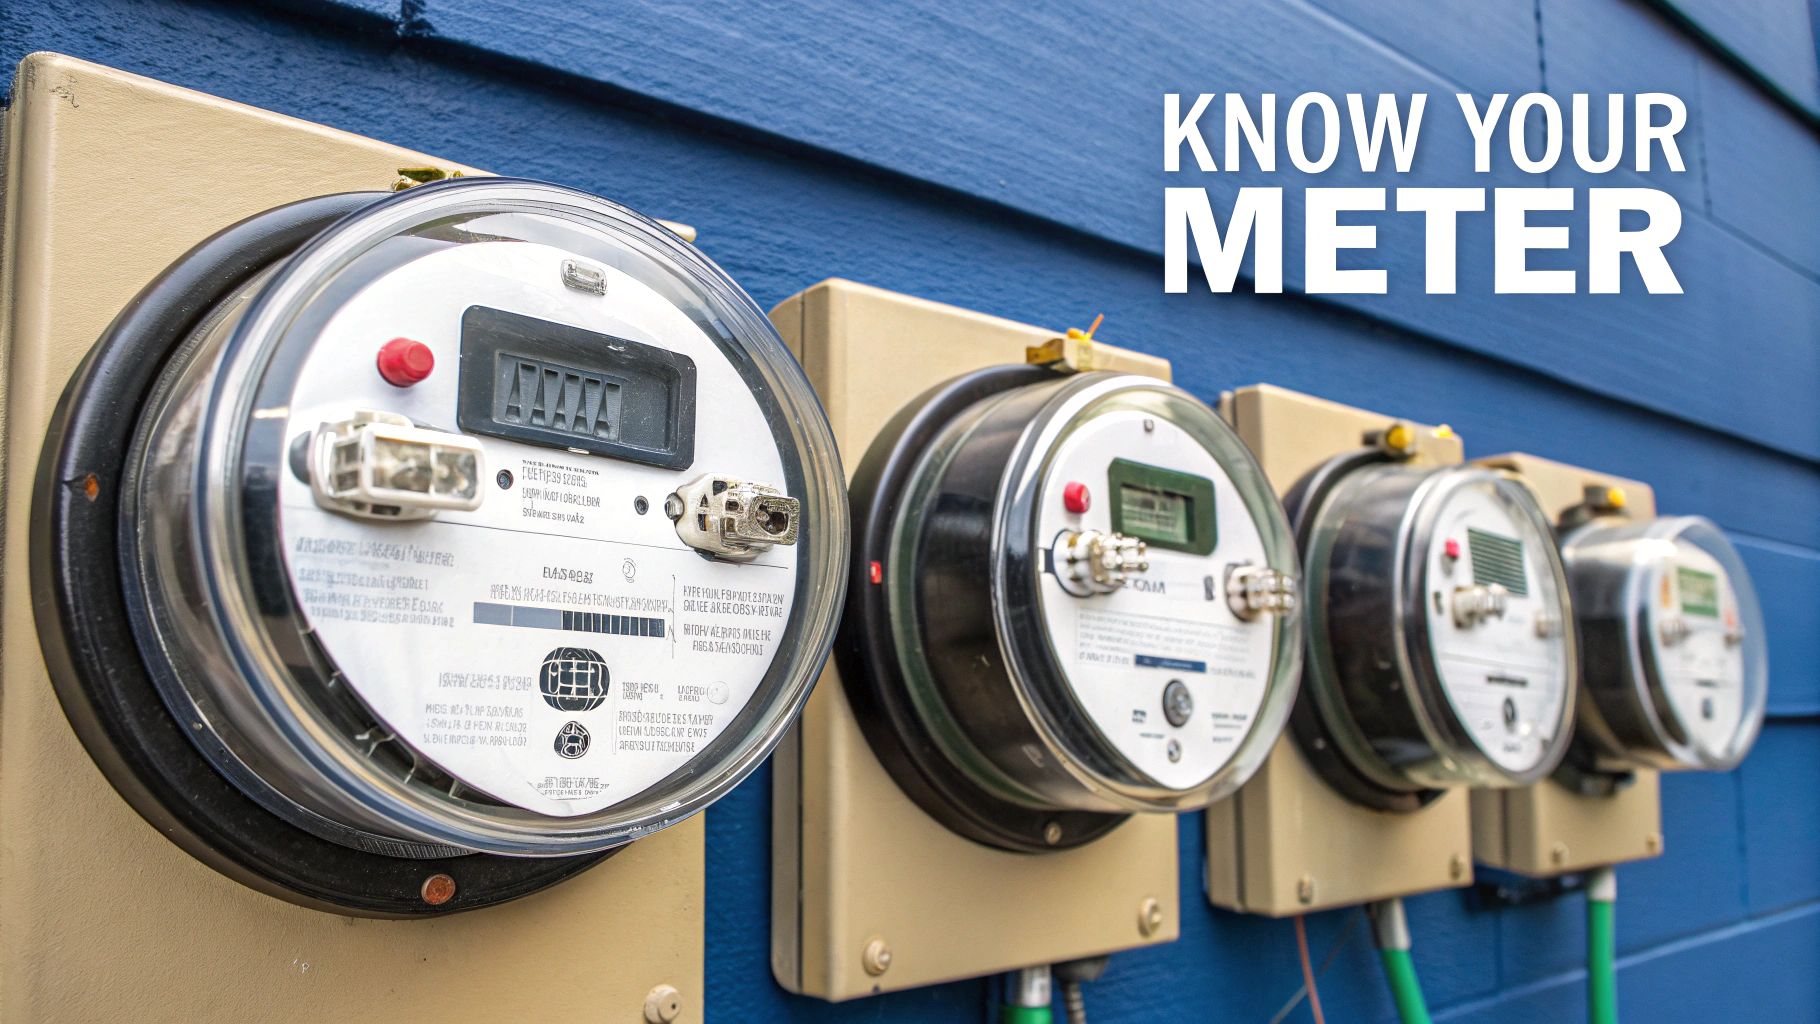
Before you can make sense of your energy bill, you need to know what you’re working with. A quick trip to your meter box is all it takes. Not all meters are built the same; they look different, measure power in distinct ways, and offer wildly different levels of insight into your usage.
Most Aussie homes have one of three types: the old-school dial meter, a more modern digital meter, or a fully-fledged smart meter. Figuring out which one you have is the essential first step, because the method for reading it changes completely from one model to the next.
What works for a classic analogue dial simply won’t apply to a smart meter that cycles through different digital screens.
Accumulation Meters vs Smart Meters
The real difference comes down to how your meter records energy. Older models are what we call accumulation meters. Think of them like the odometer in a car—they just keep a running total of all the electricity you’ve used since they were installed. Simple.
Smart meters, on the other hand, are a different beast entirely. Also known as interval meters, they’re much more advanced. They record your energy consumption in short, regular chunks—often every 15 or 30 minutes—and automatically send this detailed data back to your energy company.
This single difference has a huge impact on your billing and what you can learn about your habits.
- Dial Meters: These are the classic analogue models with a row of little clock faces. They are purely accumulation meters and always need someone to read them manually.
- Basic Digital Meters: These have a simple LCD screen, much like a digital clock. They’re easier to read than dials, but most are still just accumulation meters showing a single running total.
- Smart Meters: These also have a digital display, but it usually cycles through several screens of information. They provide that detailed interval data, which opens the door to things like time-of-use tariffs and puts an end to estimated bills.
To make it even clearer, here’s a quick breakdown of what you might find in your meter box.
Electricity Meter Types at a Glance
This table gives you a simple comparison of the common electricity meters you’ll find in Australian homes, what they look like, and how they work.
| Meter Type | Appearance | How It Measures Energy | Best For |
|---|---|---|---|
| Dial Meter | A series of small, clock-like dials with pointers. | Accumulation: Records a continuous running total of energy used. | Basic, flat-rate tariffs. Requires manual reading. |
| Digital Meter | A simple LCD screen showing a single sequence of numbers. | Accumulation: A digital version of the dial meter, easier to read but still just a total. | Homes where a simple, total usage figure is sufficient. |
| Smart Meter | A digital display that cycles through different readings (e.g., usage, date, time). | Interval: Records usage in 15 or 30-minute blocks and sends data remotely. | Time-of-use tariffs, solar export tracking, and detailed usage insights. |
Knowing which meter you have helps you understand the kind of information you can get and why your energy provider bills you the way they do.
Your meter doesn’t just measure how much power you use; it defines how you’re billed for it. An accumulation meter gives you a simple total, while a smart meter can tell a detailed story about when you use energy most, unlocking potential savings.
Understanding this distinction is crucial. It’s why some people still need to submit manual readings to avoid a nasty surprise from an estimated bill, while others can log into an online portal and see a perfect graph of their daily power use. Once you know which camp you’re in, you’re ready to get an accurate reading.
Reading Traditional Dial and Digital Meters
If your home has an older accumulation meter, you’re looking at either a classic dial display or a simple digital screen. They might not have the fancy features of a smart meter, but they give you everything you need to track your usage and double-check your bills.
Learning how to read these meters is a skill that puts you in control. They’re beautifully simple, really. Each one gives you a running total of the electricity your home has used since it was installed, measured in kilowatt-hours (kWh).
Let’s break down how to read both types with confidence.
Decoding the Basic Digital Meter
Got a meter with a single, straightforward digital display? It probably looks a lot like the odometer on an older car. Good news – this is the easiest type of traditional meter to read.
The screen shows a sequence of numbers, usually five or six digits long. Your job is to simply write down what you see, reading from left to right.
- Read the main numbers: Just jot down the primary digits on the display.
- Ignore the last digit (if it’s different): You might notice the very last number on the right is a different colour (often red) or is sitting behind a decimal point. This little guy represents tenths of a kilowatt-hour, so you can ignore it for billing purposes.
- Example: If you see
04812.6on the screen, your reading is 4812.
That’s it. The number you’ve just written down is your cumulative usage in kWh. It’s a no-fuss way to get the data you need.
Mastering the Art of the Dial Meter
Dial meters, with their row of little clock faces, can look a bit intimidating at first glance. The pointers on each dial spin in opposite directions—some go clockwise, others go anti-clockwise—and that’s where most people get tripped up.
But don’t worry, there’s a foolproof method to get it right every time.
The infographic below shows a simple, three-step process for getting an accurate reading from a traditional dial meter.

This visual guide confirms the golden rule: always start from the dial on the right and work your way left.
Here’s how to nail your reading step-by-step:
- Start from the Right: Begin with the dial on the far right and read each one in order, moving left. This is the single most important tip for avoiding mistakes.
- Read the Lower Number: Look at where the pointer is. You should always record the number that the pointer has just passed. For example, if the pointer is sitting between the 7 and the 8, you write down 7.
- Handle the “On the Line” Pointer: This is the trickiest part. If a pointer looks like it’s exactly on a number (let’s say, the 4), you need to check the next dial to its right. If the pointer on that next dial has passed zero, you record the number the first pointer is on (4). But if the pointer on the next dial has not passed zero yet, you must round down and record the previous number (3).
Here’s a little tip from experience: always take a quick photo of your meter with your phone after you’ve written down the reading. It gives you a clear record to refer back to if you’re ever unsure or need to cross-check against your bill. It’s also proof if you need to submit a self-read to your retailer to avoid an estimated bill.
Making Sense of Your Smart Meter Display
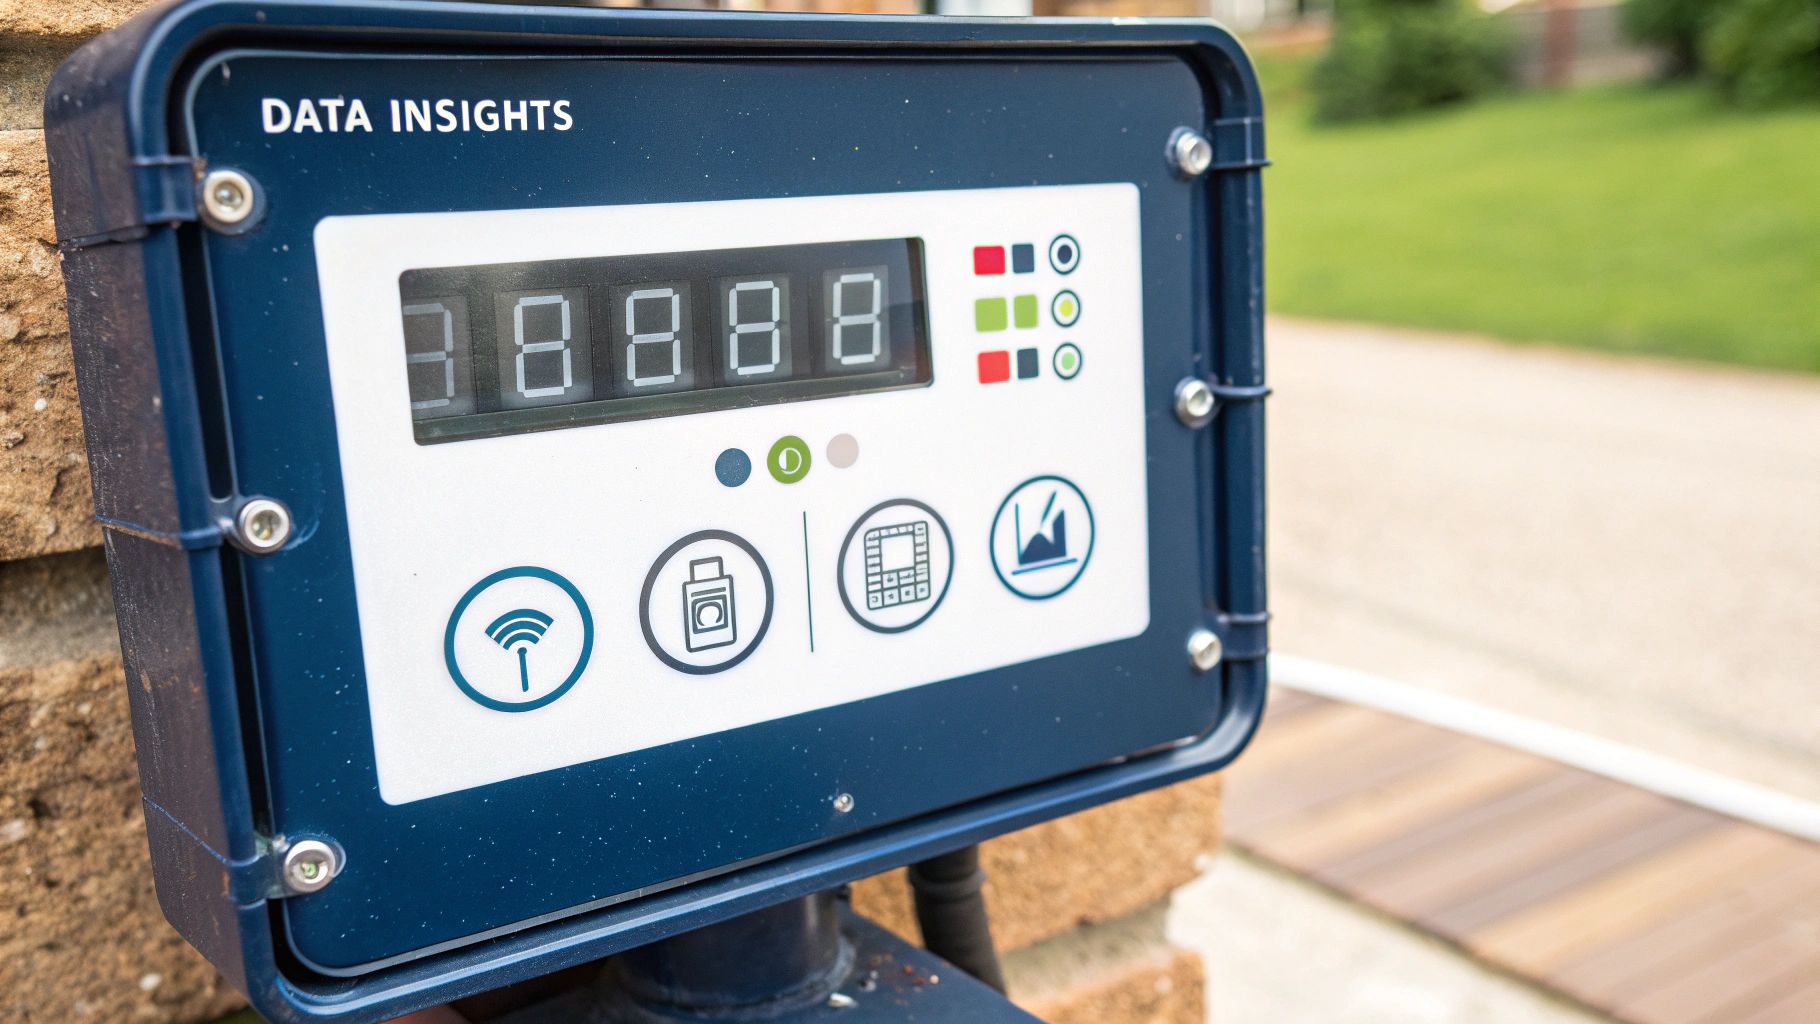
Smart meters offer a level of detail that older analogue models just can’t touch, but their cycling digital displays can feel a bit like watching a cryptic news ticker. Instead of one single, static number, you’ll see a series of screens flashing different codes and figures.
Don’t be put off by this; it’s your meter showing you a wealth of information. The key is knowing which codes to look for. These devices are the backbone of modern energy management, which is why there’s been such a big push for them across Australia.
Getting a handle on your smart meter is vital, especially with the nationwide shift away from old-school tech. Since the mid-2000s, states like Victoria have led a progressive rollout, allowing meters to talk directly with retailers and finally put an end to guesstimated bills.
These meters are built to last about 15 years, and with the first wave now aging, a major investment of around $920 million is planned for 2026-2031 to keep the network reliable.
Decoding the Display Codes
Most smart meters have a button that lets you manually cycle through the screens, but many will scroll through them automatically. The numbers you see are often identified by a small code next to them. While these codes can vary slightly between manufacturers, they generally follow a standard pattern.
Here’s a quick guide to what you’re likely to see:
- Total Usage (kWh): This is the main reading everyone wants. Look for a screen that shows a number followed by “kWh”. It might have a code like 01 or 03, or simply be the default screen that shows up most often.
- Time and Date: Many meters will display the current time and date just to show they are synced correctly with the network.
- Tariff Rates: If you’re on a time-of-use plan, you’ll see separate readings for peak, off-peak, and shoulder periods. For example, 04 might be your peak usage, and 05 could be your off-peak.
- Solar Export: For homes with solar panels, this is a crucial number. It shows how much surplus energy you’ve sent back to the grid. Look for a code like 09, 15, or 103, often labelled “EXP” or “EXPORT”.
Your Energy Provider’s Online Portal
While reading the meter display directly is useful for a quick check, the real power of a smart meter is in the data it sends to your energy provider. This is where you can turn those raw numbers into genuinely useful insights.
Your smart meter is constantly collecting data in 15 or 30-minute intervals. The display on the meter itself only shows you a snapshot, but your online account tells the whole story of your home’s energy habits.
Log in to your energy retailer’s website or app. You’ll almost certainly find a dashboard that visualises your usage with easy-to-read graphs and charts. From here, you can:
- See your energy use by the hour, day, week, or month.
- Pinpoint exactly when your peak usage occurs (often when the kids get home from school!).
- Track your solar exports and see how much you’re feeding back into the grid.
- Compare your usage to previous billing periods or even similar households in your area.
This detailed breakdown helps you make informed decisions. By understanding your patterns, you can shift high-energy tasks to off-peak times, identify power-hungry appliances, and see the immediate impact of your energy-saving efforts.
For those looking to take this a step further, integrating your system with smart controllers can automate this process, ensuring your home uses energy in the most efficient way possible. It’s the best way to not just read your meter, but to use that knowledge to your advantage.
Right, you’ve wrestled with your electricity meter and jotted down the numbers. That’s the tricky part over.
Now, let’s turn those digits into something that actually matters: the dollar figure on your next power bill. A bit of simple maths is all it takes to go from just paying your bill to truly understanding—and even predicting—your costs.
The whole process boils down to finding the difference between your new reading and the last one. That gap tells you exactly how many kilowatt-hours (kWh) your household has chewed through.
Current Reading – Previous Reading = Total kWh Used
Let’s say your meter now reads 25,450 kWh. You dig out last month’s bill and see the reading was 24,950 kWh. The difference is 500 kWh. That’s your usage for the period. Simple.
Turning Kilowatts into Dollars
With your usage figured out, the next piece of the puzzle is your tariff rate—what your retailer charges you for each kilowatt-hour.
You’ll find this on your latest bill, usually tucked away in a “rates and charges” section. Once you have that number, the final step is a quick multiplication.
Total kWh Used x Tariff Rate = Estimated Cost
Following our example, if your tariff rate is $0.32 per kWh, your estimated usage cost comes out to $160 (500 kWh x $0.32).
Keep in mind your final bill will also have a daily supply charge tacked on, but this calculation gives you a solid, real-world estimate of your usage costs. If you want to see how different habits might change that number, playing around with an electricity savings calculator is a great way to model different scenarios.
Factoring in Different Tariffs
Of course, it’s not always that straightforward. Many Australian homes are on time-of-use tariffs, meaning the price of electricity changes depending on the time of day. Your smart meter is built for this, tracking usage across different periods automatically.
You’ll typically see a few different rates:
- Peak: The priciest period, usually weekday afternoons and evenings.
- Off-Peak: The cheapest time, almost always overnight.
- Shoulder: A mid-range rate that sits between the other two.
- Controlled Load: A special, cheaper rate for specific high-draw appliances like hot water systems.
To work out your costs here, you just repeat the same calculation for each tariff. Match the kWh used during the peak period with the peak rate, the off-peak usage with the off-peak rate, and so on, then add it all together.
This is especially important for anyone with solar panels or a home battery. With over 30% of Australian homes now generating their own power, meters often show multiple readings for both the electricity you buy (import) and the electricity you sell (export).
Getting comfortable with these numbers helps you make smarter decisions about when you use energy. It’s a skill that’s about to become even more valuable. The Australian Energy Market Commission is pushing for new rules that will require all new meters to give homeowners real-time data access by 2028. This move will make it easier than ever to track your energy profile, spot billing errors, and see exactly where your money is going.
Answering Your Meter Reading Questions
Even with a step-by-step guide, it’s normal to have questions when you’re getting the hang of reading your electricity meter. A surprisingly high reading can be a real shock, and it’s natural to have concerns about safety. Let’s tackle some of the most common queries I hear, so you can read your meter with complete confidence.
What Should I Do If My Reading Seems Way Too High?
Seeing a number on your meter that’s much higher than you expected can be worrying, but there’s a simple process to troubleshoot what’s going on. The first thing you should do is a quick diagnostic check known as a creep test.
Head to your switchboard and turn everything off at the circuit breakers. I mean everything—no standby lights, no fridge humming, complete silence.
Now, go back and look at your meter. If the little disc on an old dial meter is still spinning, or the numbers on a digital meter are still ticking up, you might have a faulty appliance or a wiring issue somewhere. If that’s the case, it’s time to call a licensed electrician.
If the meter stops dead, you can start flicking the circuits back on, one by one. Keep your eye on the meter as you go. This little bit of detective work will often help you pinpoint the specific circuit—and the energy-hungry appliance—that’s causing the spike.
If you’ve run these checks and still can’t find a logical reason for the high reading, it’s time to contact your energy retailer. They can look at your billing history and investigate whether the meter itself might be faulty.
Is It Safe for Me to Read My Own Meter?
Absolutely. It is perfectly safe to read your own electricity meter. Meter boxes are specifically designed for you to access the display without any risk. You just need to open the main door of the meter box to see the screen or dials.
What you must never do is attempt to open the clear plastic casing that covers the meter itself or touch any of the wiring around it. That area is strictly for trained professionals.
If you open your meter box and notice any of these red flags, close it immediately and report it to your electricity distributor:
- Damaged or exposed wires
- A strange burning smell
- Signs of pests like wasps or ants building a nest inside
Your safety is always the priority, so if something looks off, don’t touch it.
How Often Should I Be Reading My Meter?
The best routine really depends on what type of meter you have.
For homes with older dial or digital meters, getting into the habit of a monthly reading is a fantastic idea. This allows you to submit your own reading to your retailer, which helps you dodge those estimated bills that can lead to a nasty catch-up cost later on.
If you have a smart meter, the data is sent automatically, so you don’t need to read it for billing. However, it’s still worth logging into your energy provider’s online portal weekly. This gives you powerful insights into your usage, letting you track your energy habits in near real-time. It’s a great way to make small adjustments that lead to big savings, especially if you’re on a time-of-use tariff.
For more detailed answers to specific billing or technical questions, exploring a comprehensive help and FAQs section from an energy expert can provide further clarity.
At HighFlow Connect, we’re dedicated to helping you take control of your energy. Our platform empowers solar and battery owners to get more value from their systems, lower bills, and support a cleaner grid. Discover how our intelligent energy management solutions can work for you at https://highflowconnect.com.au.